
🌍 Who wrote this article?
Ola and Marcin Górski (@Couplecycling) spent more than 3 years in the saddle, covering 60,000 kilometres together! Their route led through some of the toughest and wildest corners of the world. The gear they describe below was not tested on weekend rides. It had to survive scorching sun, torrential rain, collisions and thousands of hours of riding in extreme conditions. This is knowledge earned on the road, on some of the longest routes on the planet.
What do we think is worth taking on a long trip (more than a month)?
Choosing your gear and deciding what is really worth taking and what will turn out to be unnecessary can be an even bigger challenge than convincing yourself to set off on a long bike trip in the first place. Sometimes these simple choices become a barrier to hide behind, an excuse that you don’t have something yet or don’t know what to choose.
Here is a list of our camping gear, electronics, tools and everything else we took with us. We will also tell you how to pack it all and whether Polish-made panniers are worth taking on a long journey. Did they last three years, and would we recommend them at all?
💡 A little spoiler: At the end of the article we reveal which Crosso pannier model worked so well for us that we especially recommend it for multi-month expeditions!
⛺ Starting with the basics: camping
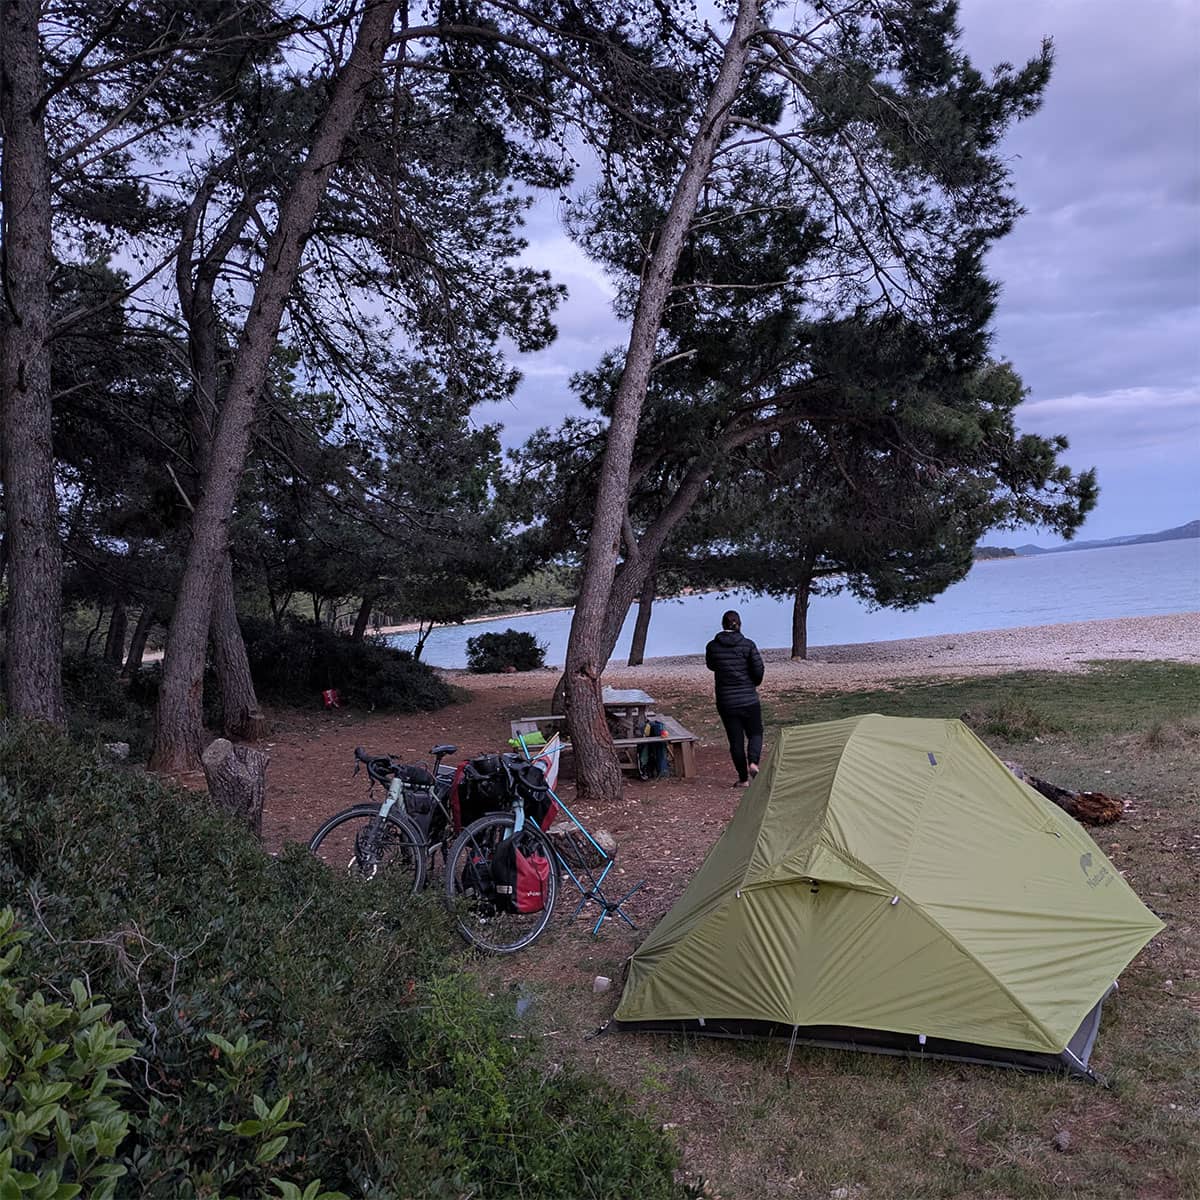
Tent
We never recommend expensive MSR tents. We have seen a huge number of messages in WhatsApp groups about broken poles. Our budget tent from Naturehike (Cloud Up 3) had its own adventures too (the poles broke twice). The real discovery was that Decathlon sells spare poles. They are 0.3 mm narrower, but they fitted perfectly. Gear failures matter much less when the part is easy to replace.
Sleeping bags
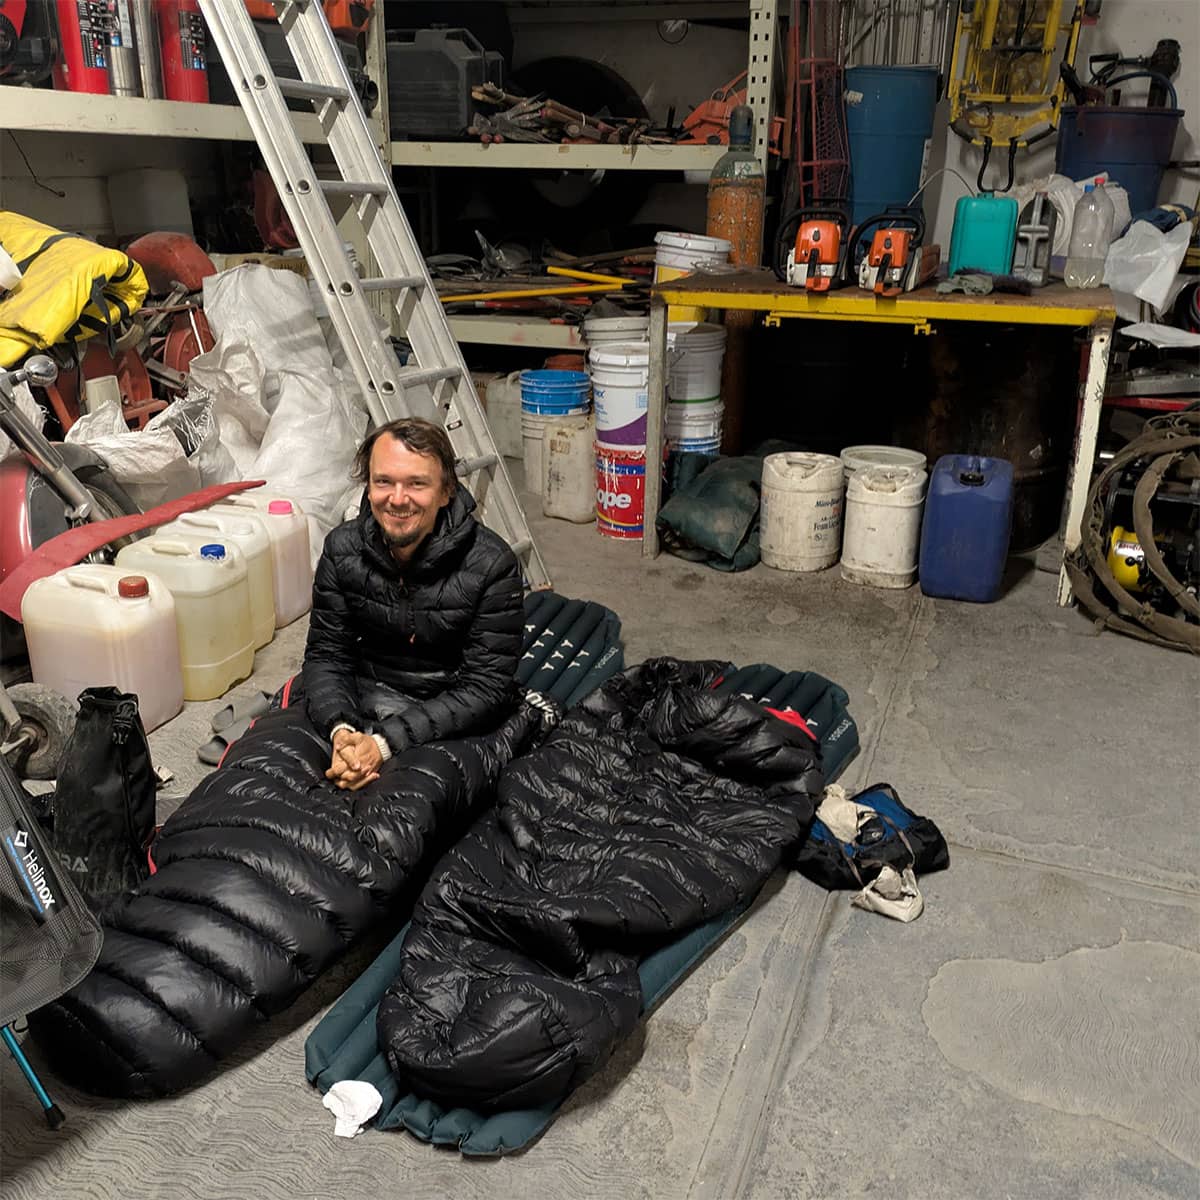
We started with Naturehike CW300 sleeping bags and a liner from Decathlon. We don’t recommend buying sleeping bags that are too warm: you can always make up for missing warmth with a down jacket (ours was the cheapest Forclaz MT500). Towards the end of the trip we bought a Marmot Lost Coast 30. We also recommend longer sleeping bags (the Long version).
Sleeping mats
We started with a double Klymit Double V Insulated, but after a month its layers began to delaminate. We finished the trip with the cheapest Forclaz mat and a more expensive Sea to Summit Comfort Plus ASC Insulated. Insulation from the ground is key: on colder nights you could clearly feel the chill when sleeping on the cheap Forclaz.
📌 Practical tip: Don’t inflate your sleeping mat too hard (even though manufacturers don’t warn against it). It’s better to leave it slightly soft than to end up with delaminated fabric caused by too much pressure inside.
🔋 Electronics on the road
When planning a long trip, you need to think about where you’ll be able to charge your gear. Our four 20,000 mAh power banks lasted for a maximum of 10 days of riding. We started out with two 15 W solar panels from Decathlon. They are powerful units that could charge a 10,000 mAh battery on a sunny day.
We used our phones for navigation (we recommend cheap models with big batteries, e.g. Vivo Y72 5G or Motorola Moto G9 Power):
- Navigation: We planned our route in the Komoot app (usually a week ahead).
- Places to sleep: We searched for potential spots in the excellent iOverlander app.
- Strategy: We always planned our routes at 70% of our capacity. That gave us spare time for unexpected trouble finding a place to sleep or for breakdowns.
🍳 Cooking at the end of the world
We know many of you travel with gas canisters. We get it: gas is clean, doesn’t smell and doesn’t make your gear dirty. However, for a long trip, especially outside Europe, we strongly recommend a multi-fuel stove (MSR Whisperlite Universal). It runs on both gas and petrol: all you need to do is swap the jet.
For pots, we recommend the collapsible Sea to Summit range and the MSR Trail Lite Duo Cook set. It fitted perfectly into the narrower bags Marcin had.
🚲 Bikes, tools, breakdowns
Before the trip, our biggest worry was our racks breaking… and that is exactly what happened. We chose racks with a rather unfortunate design, much worse than Crosso products. Under heavy loads, the mounting should ideally be vertical. In our case, after 30,000 km the forces simply snapped the mounting plate.
⚙️ Drivetrain and brakes: what worked?
We both rode with a Shimano GRX400 drivetrain (46-30 crankset, 11-36 cassette). With a heavy load, this turned out to be too hard a gearing! We recommend experimenting with a smaller crankset (e.g. 26-36).
Brakes: We had hydraulic disc brakes. It’s an almost religious topic, but we believe that on a heavy bike they are the best choice. Problems appeared after 30,000 km in Colombia. Eventually, after 40,000 km (in Peru), each of us broke one brake lever, which a local mechanic replaced without any fuss.
Each of us went through 5 pairs of tyres. We chose the reliable Schwalbe Marathon Plus Tour. Over an astonishing 60,000 km we had only 37 punctures. We rode with inner tubes, so we carried spares and plenty of patches (good glue is a must!).
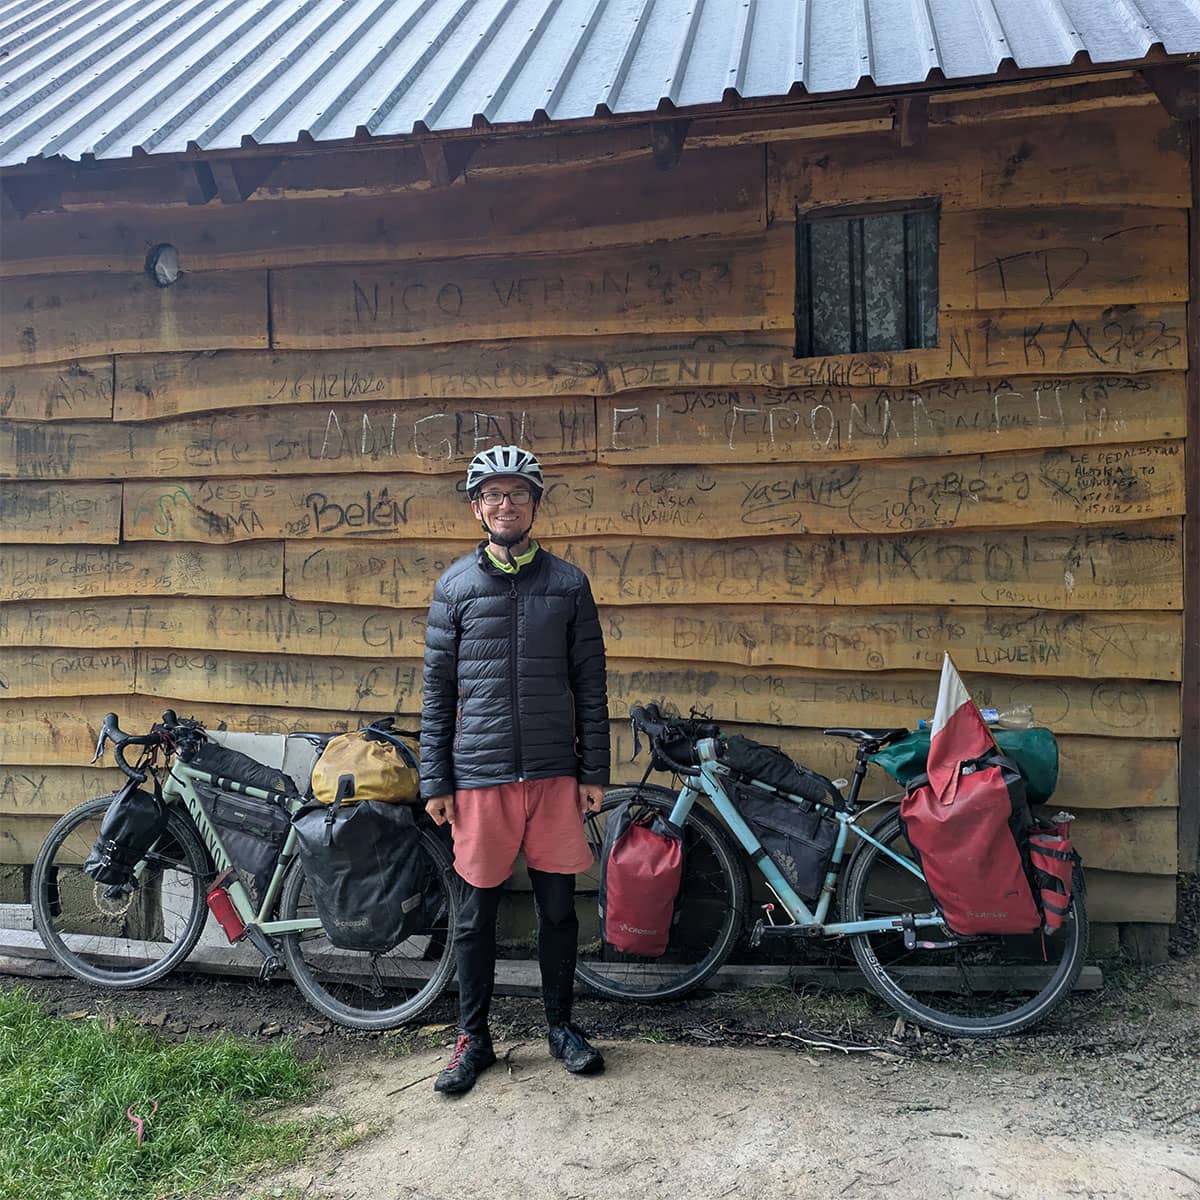
Availability of parts? We had rims cracking, or more precisely spokes tearing out of the wheel. Even in Laos, though, we managed to find a new wheel, and in Indonesia we took our bikes on a bus to reach a bigger city. Everything is a matter of time: the more of it you have, the easier it is to solve any problem.
🎒 What did we pack it all in? Crosso panniers put to the test
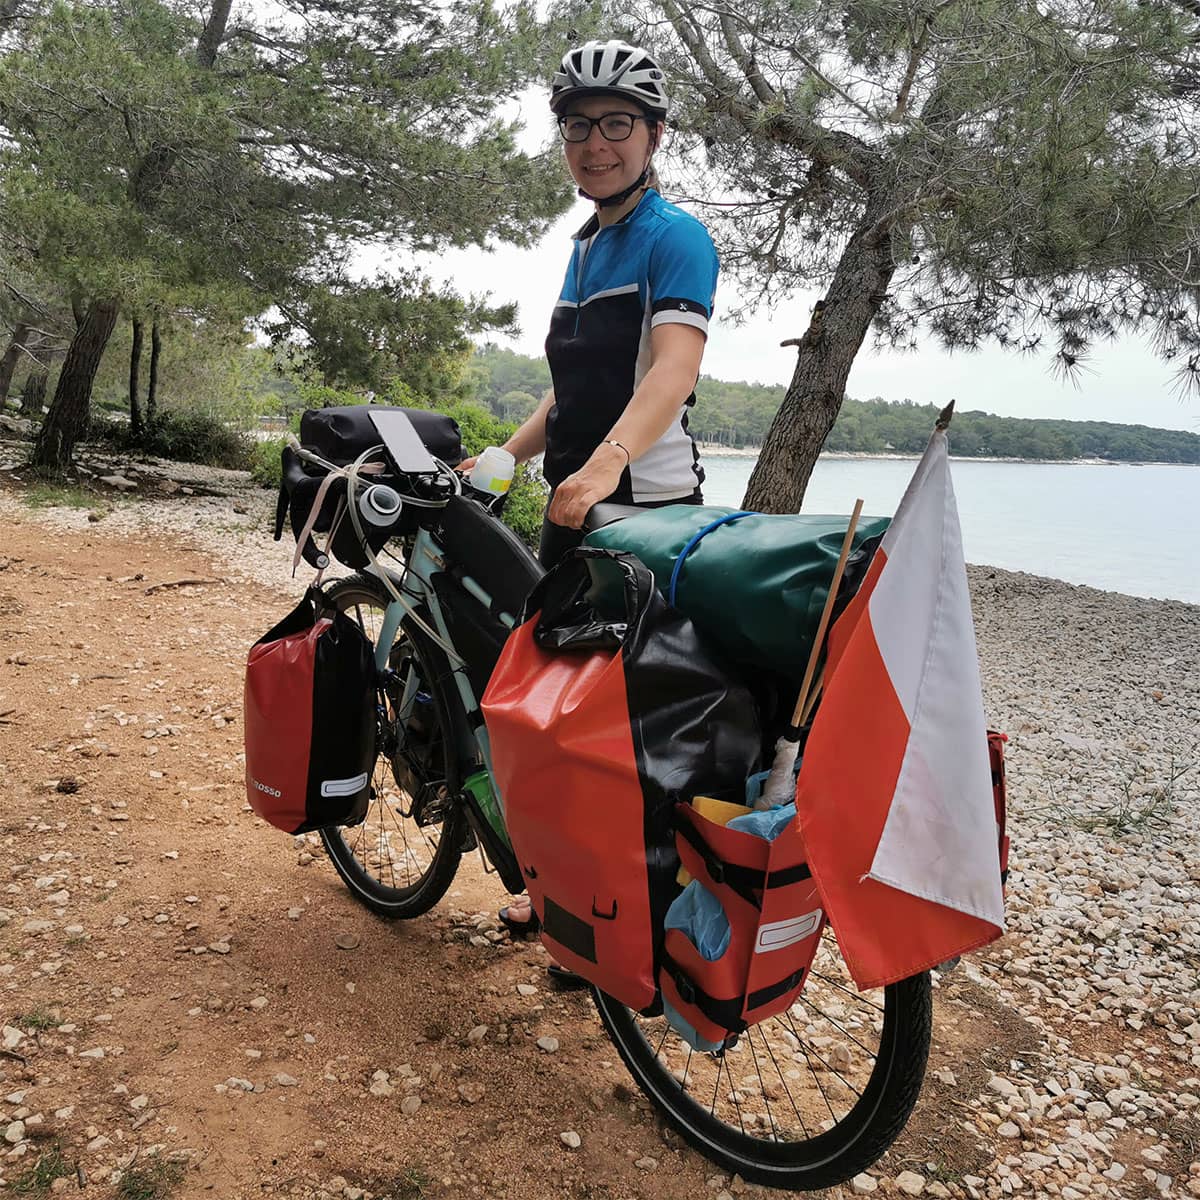
Searching online, we came across many brands of bicycle panniers. It turns out, however, that apart from the logo, it’s worth looking at the capacity. In the end we chose the largest panniers on the market, from Crosso (offering up to 66 litres at the rear).
Some might ask: why such big bags? Many of a long-distance traveller’s things are bulky but light. A good example is camping chairs (a must-have, just 500 g each), which took up as much as 1/3 of a rear pannier!
The reliability of Polish-made gear
The mounting system was a key point. Steel hooks are indestructible. Having chosen this system, we were more worried about the lifespan of the rack itself than the panniers.
- Marcin’s gear: A model from the Dry 60 Panniers line (steel hooks, elastic tensioner) and a Zipper Cosinus Frame Bag / Tailor-made. We kept the heaviest tools in the frame bag, and despite tough conditions, the zip didn’t budge. The Dry 60 panniers are so tough that they survived a collision with a motorcyclist in Pakistan without a single scuff!
- Ola’s gear: At the rear, the excellent Dry X66 Panniers with detachable pockets, brilliant for wet flip-flops! At the front, the smaller Dry 30 Panniers with the Click system. The plastic in the mounting system is so hard that it wore away a quarter of the thickness of our Chinese rack’s rail before it showed any damage itself. On the rack top sat a waterproof Dry Bag. It only gave up after 1,142 days of constant exposure to sun and abrasion.
Organisation and final thoughts
The coated fabric in the Dry line is outstanding. It’s incredibly practical, easy to clean and tear-resistant.
Before setting off, we wondered how to keep things tidy inside. Cheap organisers quickly tore at the seams. Today we would add the dedicated Trio – Rear Pannier Organizer to the set without hesitation.
Would we change anything? We would swap the rack-top bag for the newer Expert Bag 40 (with shoulder straps and a side roll-top). The side closure minimises the risk of moisture getting in during extreme downpours.
We consider our gear to be almost perfect. Over 60,000 km, not a single Crosso pannier wore through, despite daily rolling, camping chairs being shoved in and thousands of hours in the merciless sun.
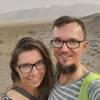
Text and photos: Ola and Marcin Górski (Couplecycling)
A travelling couple who together cycled an incredible 60,000 km, proving that two wheels are the best way to see the world. They share their vast experience in choosing gear, organising multi-month expeditions and dealing with the unexpected on the road. If you have questions about gear or travelling, they are happy to give advice and answer on their social media:
Instagram | Facebook
 Founder of Crosso