MOTO System: Engineered for the Open Road
The MOTO mounting system isn’t just a design; it is a solution born from the road. Developed in close cooperation with seasoned motorcyclists and thoroughly field-tested on rigorous routes, this system combines the lightweight properties of aluminum with the rugged durability of steel. It is built to withstand the vibrations, speeds, and demanding terrains of motorcycle touring.
Technical Compatibility:
- Tube Diameter: Fits frames with 19–21 mm tubes (for smaller diameters, use a PVC insert).
- Vertical Spacing: Requires a distance of 21–27 cm between the top and bottom frame tubes.
- Horizontal Adjustment: Infinite stepless adjustment of hooks (max spacing: 24 cm).
Installation Guide

Part I: Preparation
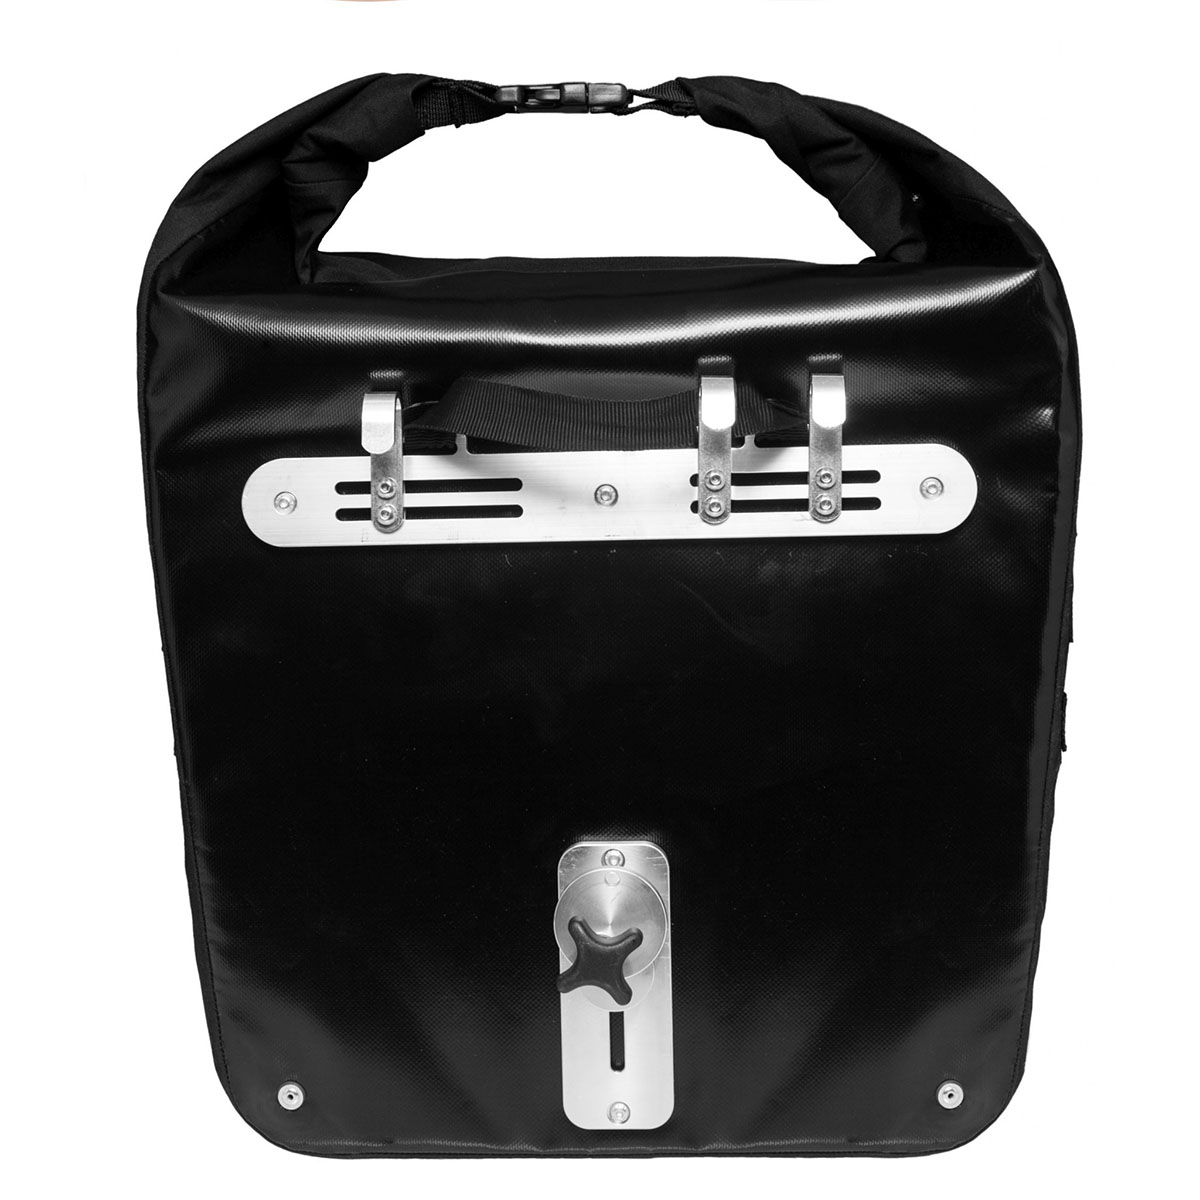
- Hooks Setup: Use a hex key to partially screw down the hooks onto the upper threaded plate (2 bolts per hook).
- Positioning: Hang the pannier on your bike rack. Slide the hooks so they sit entirely on the straight section of the tube. Tighten the bolts firmly.
- Lower Roller: While the pannier is hanging, adjust the lower roller so its top edge touches the bottom of the lower rack tube. Lock it by turning clockwise. Tighten securely using a tool (screwdriver or hex key) inserted into the side opening.
- Knob Assembly: Attach the washer and aluminum disc to the threaded knob and screw it into the lower roller.
Part II: Mounting & Locking
To install, place the upper hooks on the frame. Press the bottom of the pannier so the roller snaps into position below the lower tube. Rotate the aluminum disc to “clutch” the tube and tighten the knob with full hand strength.
⚠️ CRITICAL SAFETY NOTE:
Once screwed down, the locking disc will not be parallel to the pannier wall. It will be slanted, wedged against the roller and the tube. This is the correct, intentional position that prevents the knob from unscrewing due to vibration. Do not use washers to “straighten” it!

 Founder of Crosso